So, you purchased a beautiful work of art. Congrats! Now, how do you make sure it speaks to others the way it spoke to you? The answer: high-quality lighting.
Whether you bought a photograph online or came home from a gallery with a new painting under your arm, the piece in question likely caught your eye in part because it was properly lit. However, unless you’re a gallery design pro, you may be unsure how to recreate those ideal settings. If so, you’re not alone. In fact, collectors (both seasoned and new) ask me all the time, “What is the best way to light my photograph?”
That’s why I put together this quick, five-step guide for anyone struggling to recreate museum lighting in their home gallery design.
1. Pick a light source for your home gallery
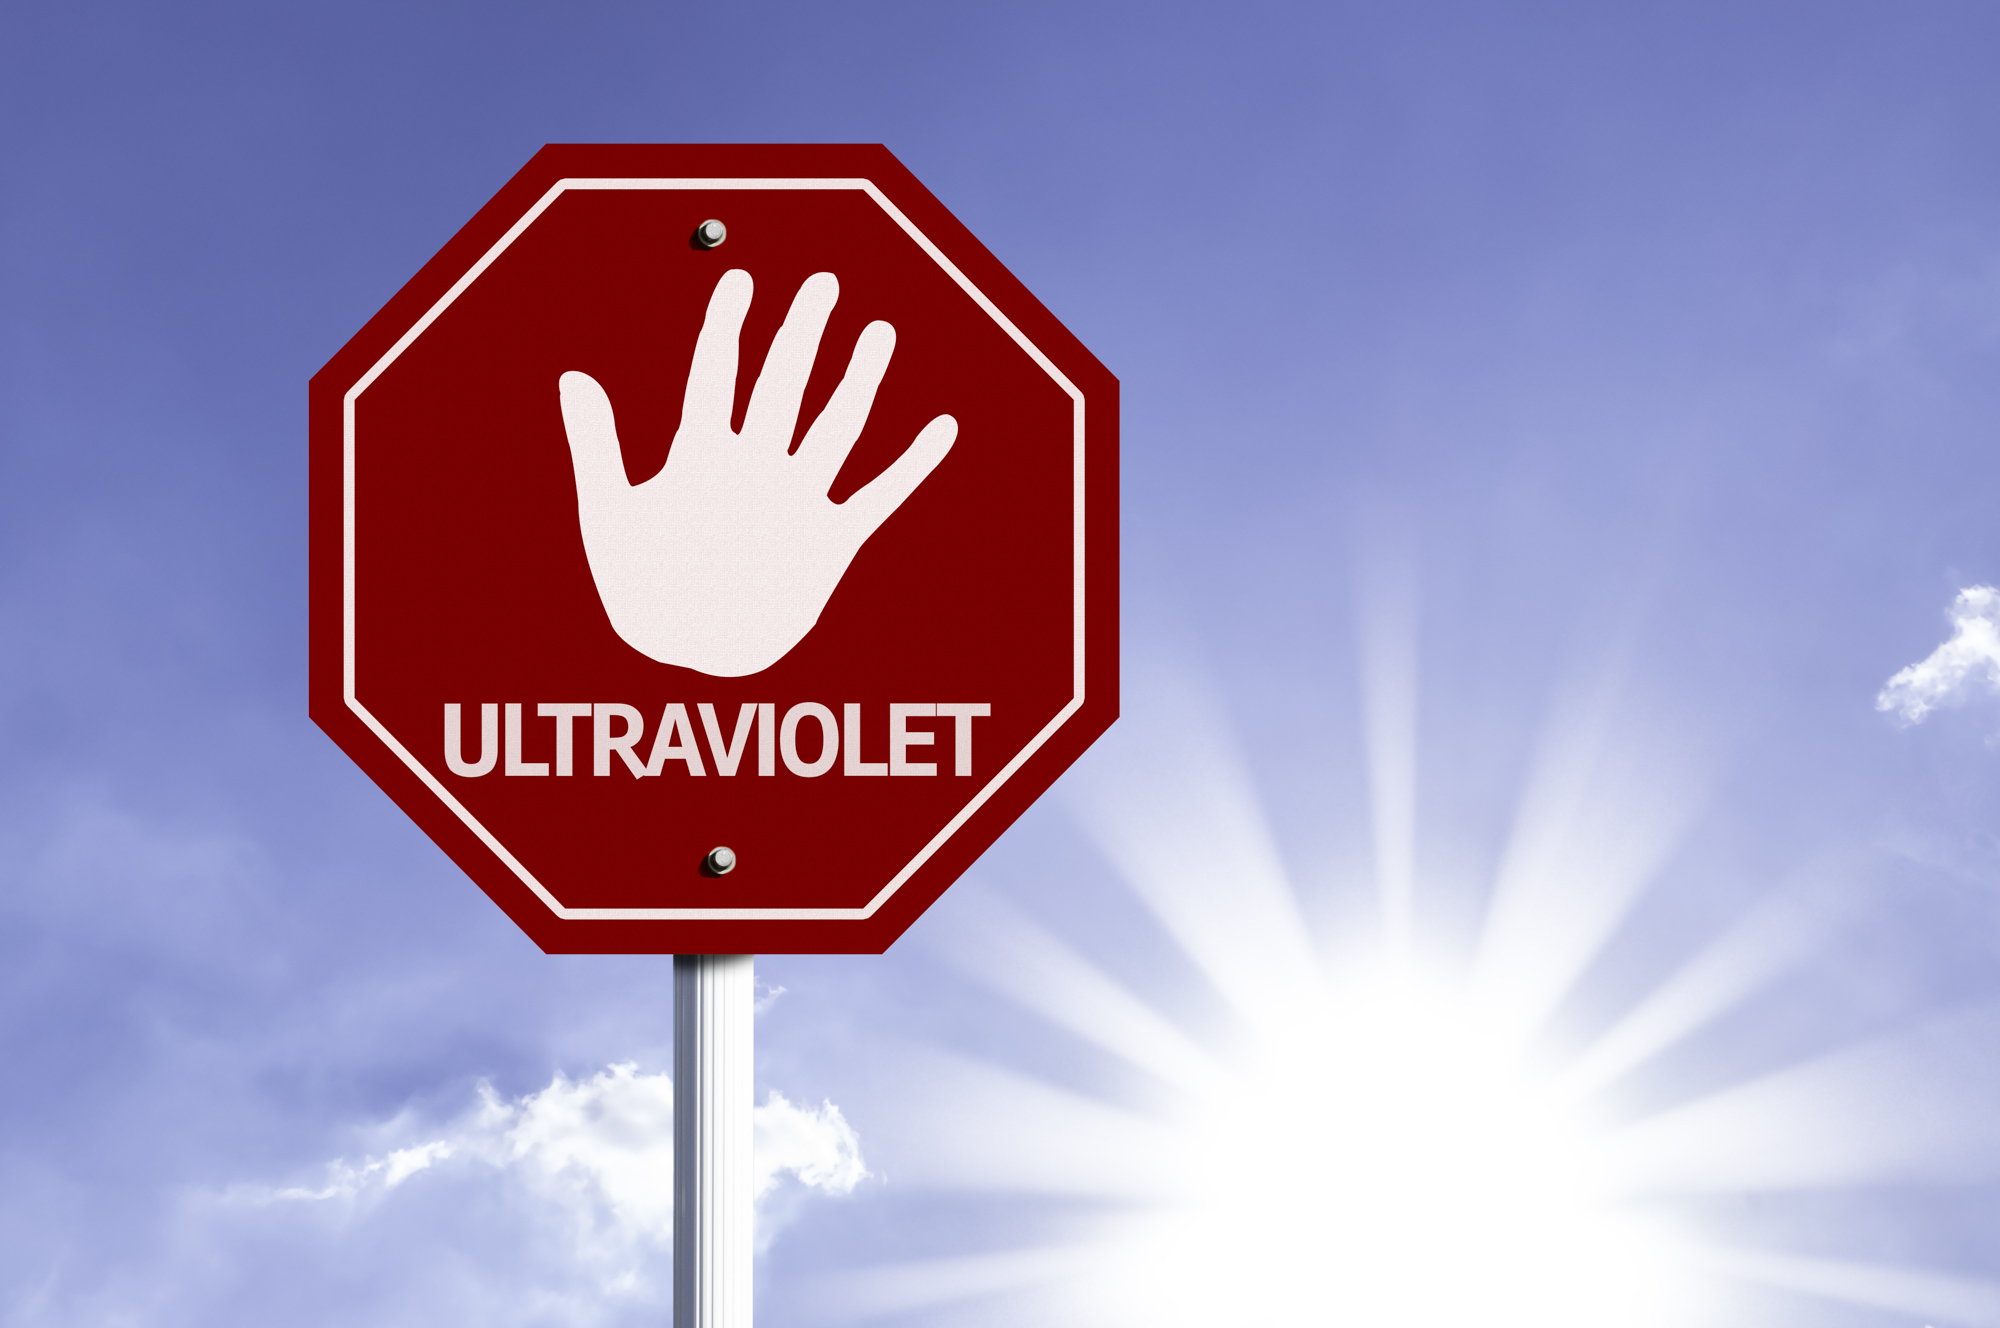
The first thing to consider is what type of light you will use. While the sun might seem like an obvious (and appealingly free) option, unfortunately, its ultraviolet rays damage art just like they damage our skin.
Indeed, UV light does much more than simply fade artwork. The destruction it wreaks at the molecular level actually changes the colors of pigments, dyes, and paints.
Some frames do offer UV-protectant coatings, but even those can fade after years of relentless rays. So, to be safe, I always suggest positioning your art out of direct sunlight. To maximize your display and limit long-term damage, I suggest reviewing the following list of available lighting source choices for your home gallery design.
LED
Incredibly versatile, LEDs are the industry leader when it comes to putting the spotlight on valuable artwork. They can also be a pricier option, but it’s worth it to spend the money upfront to avoid the destruction of your valuable art. Trust me.
- Emits little heat
- No damaging UV or infrared rays
- Most energy efficient
- Longest lasting
- Expensive
Halogen
Offering the brightest white out there, halogen lights show off artwork at its best. In fact, halogen was the go-to for galleries and museum lighting for many years.
The biggest concern with halogen lights, however, is they generate UV rays, plus a good amount of heat. For that reason, to avoid damage, experts recommend using UV filters and keeping some distance between your art and these bulbs.
- Generates heat
- Emits UV rays
Incandescent
These are what most people have in their homes already. While they are cheap, their soft, yellow color is better suited for indirect ambient lighting. Beware: Lighting your work with this type of lighting will impact the colors featured in your art.
- Cost-effective
- Soft yellow light
- Flattens greens and blues, intensifies yellows, oranges, and reds
Fluorescent
I’ve only included this source on the list to make sure you do not use fluorescent light to show your artwork, as this dangerous light source emits high levels of UV rays.
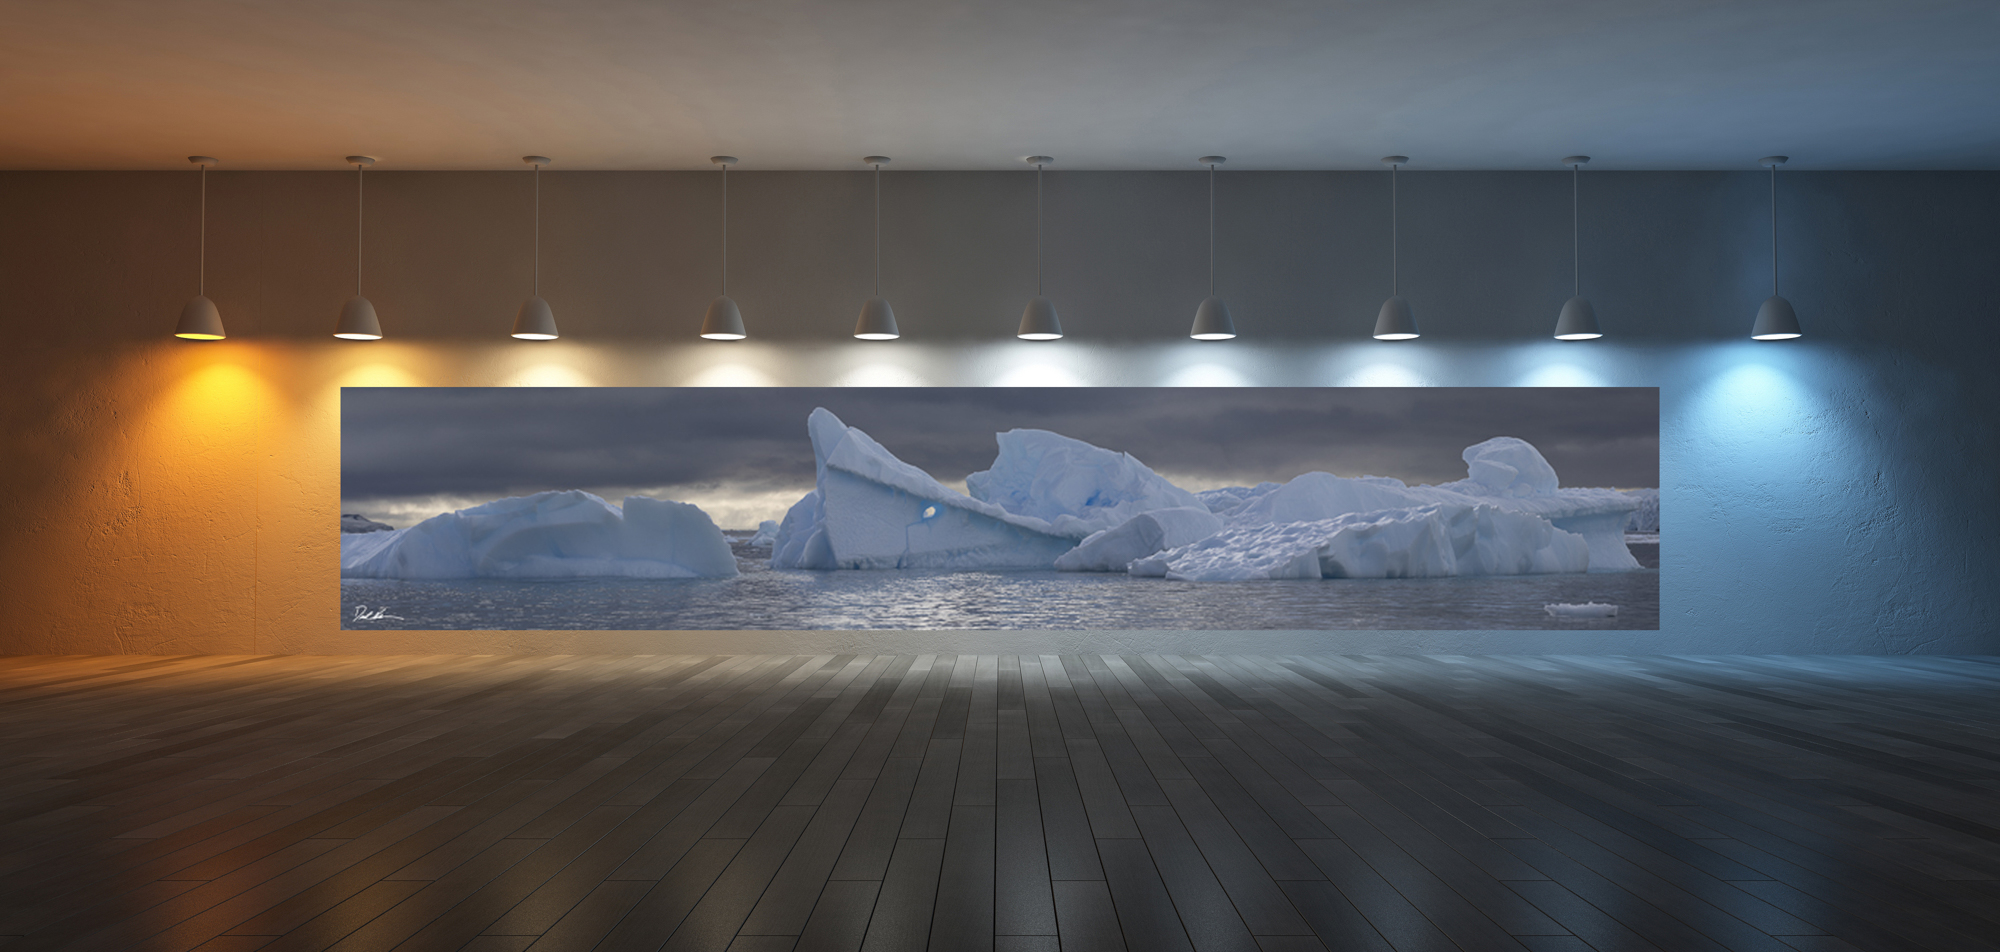
2. Arrange the angle of your home lighting
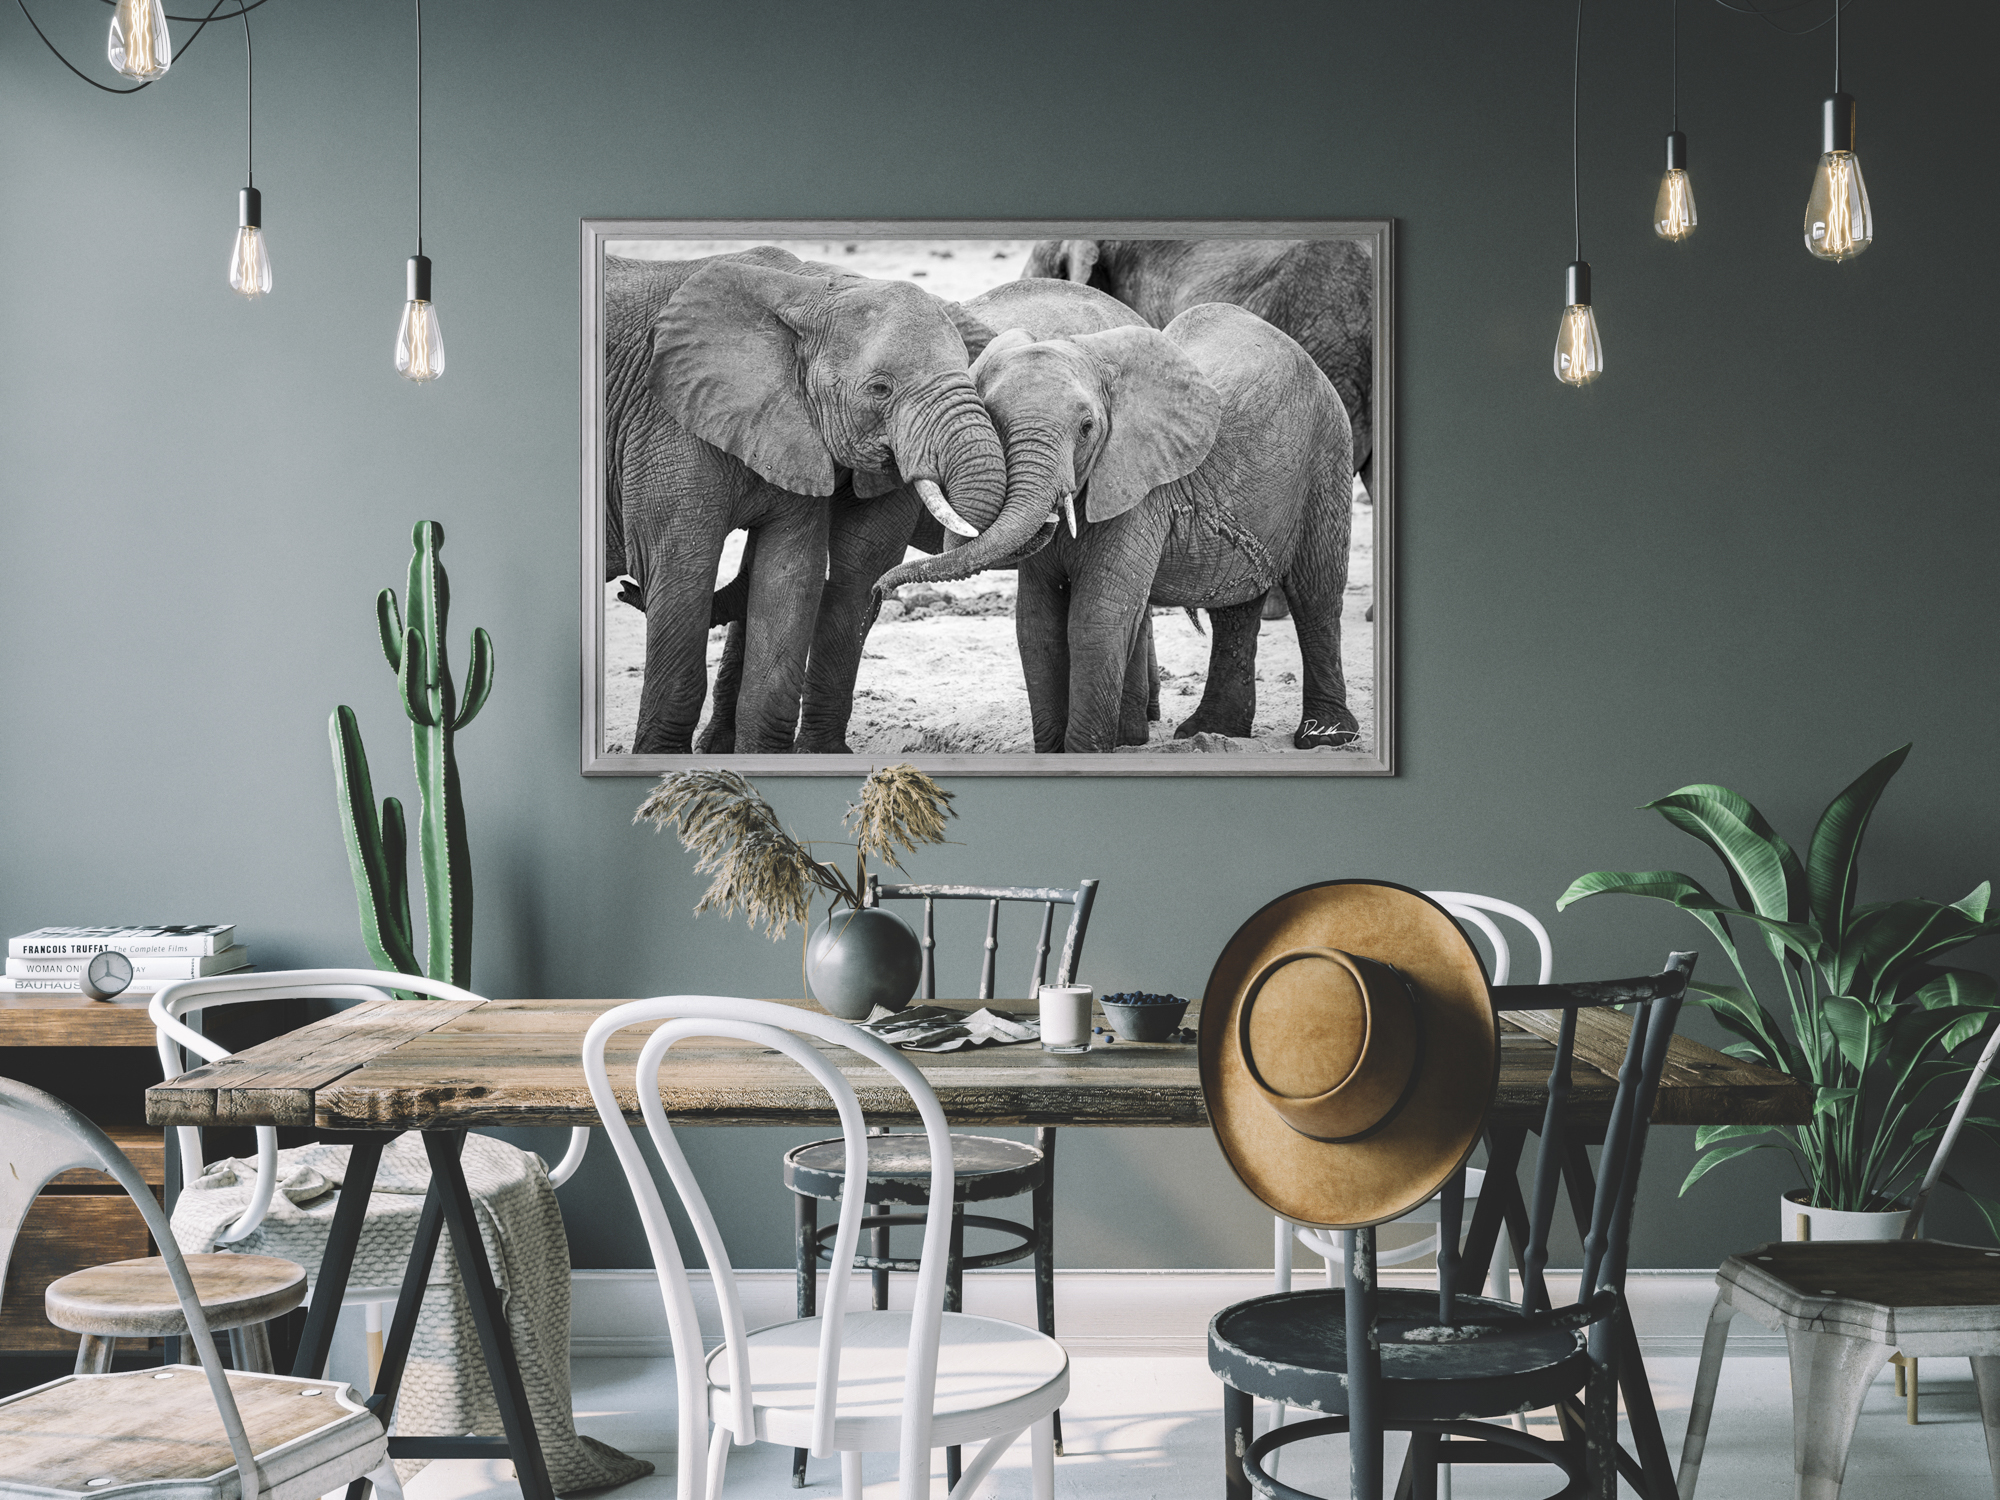
(Sass – Limited Edition Luxury Fine Art Print of 6 – Derek Nielsen Photography)
According to the experts, lighting your photograph or painting from a 30-degree angle is usually your best bet, as it provides maximum, museum-lighting-level illumination—with minimum glare. This angle is found by measuring the distance between your art and the position of the light on the ceiling.
Why so specific? Well, if your piece features texture (like an oil painting or mixed medium work) a small angle, such as 5 to 10 degrees (when the light source is directly overhead), will cast long shadows over the art. However, if you move the light back, creating an angle of 40 degrees, you’ll see an increase in glare. Thus the 30-degree sweet spot.
3. Find a fixture that fits your home lighting design

At the end of the day, fixture choices really come down to your personal taste and budget. But whatever you choose, remember to use a 30-degree angle for overhead light sources.
Ceiling
Currently the most trendy, low-profile way to light artwork, ceiling lights are also very adjustable. when it comes to the spectrum of light, range of light beam width (board or pinpoint), the direction of light, and style.
Track
Before ceiling lights caught up with display options, track lighting was the best way to showcase artwork. Still a very attractive option, track lighting is available in a nearly endless lineup of choices.
Picture
This is the old-fashioned, small light mounted off the external frame or on the wall below the individual piece of art. Thanks to advancements in battery technology, these lights no longer need an outlet (saving you the headache of hiding cords or drilling holes).
Think your piece is too large for this option? Think again. Some companies offer picture lights as big as, and exceeding, 48 inches.
4. Cool off or warm up your lighting temperature
- Lighting can present many different color temperatures, ranging from 2,000 to 6,500 kelvins. So, you certainly have a lot of options. But there’s no need to let the volume of available temperatures and categories in the lighting aisle send you into a tailspin. Simply read through the options below and narrow down your selection before you start shopping.
2,000 K – 3,000 K
- Warm and soft
- Highlights art’s warmer tones while flattening greens and blues
- Preferred temperature range to display art as it accents pieces without altering the color palette
3,100 K – 4,500 K
- Cooler, vibrant, brighter white light
- On the low end of the spectrum, ideal for art that needs a bright display
- Often used in working areas of the home, like the kitchen, workshops, or garages
4,600 K – 6,500 K
- Near daylight, bright, vibrant, crisp, and alert
- Often jewelry stores highlight precious metal or stone
- Also used in security lights, museum lighting, and clothing stores
5. Finish with a frame—or not
You did it! We’ve arrived at the final step: choosing the right frame. While this last choice mostly comes down to personal preference, there are still a few lighting impacts to keep in mind.
First, if a frame is too large or deep it may block the light you worked so painstakingly hard to perfect in the previous steps.
And while thick, chunky frames work great with picture lights, if they are too deep you’ll need to adjust the angle of the overhead light. Meanwhile, while thin frames allow for more flexibility with overlights, like ceiling or track lighting, they’re not ideal for use with picture lights.
Finally, no frame at all is sometimes the way to go. Ultimately, it’s up to you and what best fits your home gallery design (our store offers framed and unframed print options).
Use lighting to highlight your home gallery’s spotlight piece
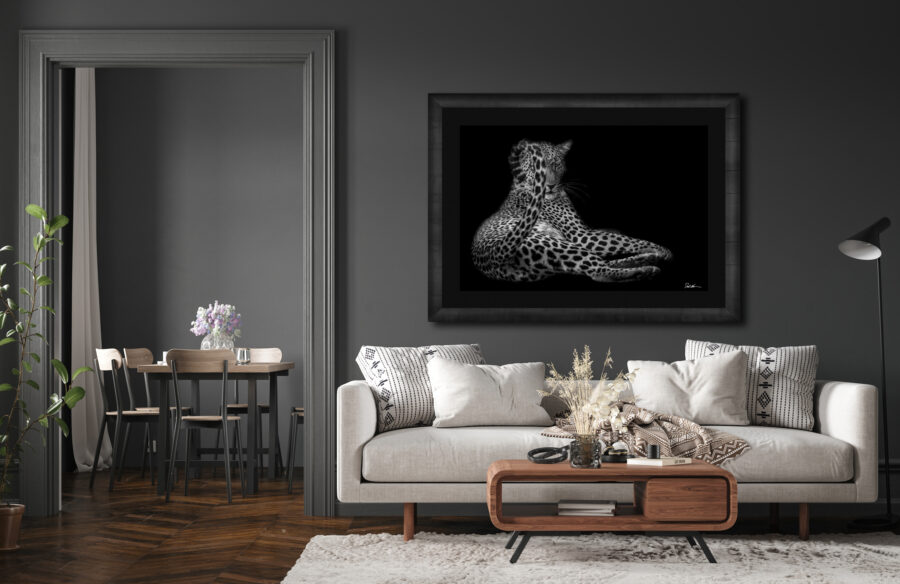
(Yellowstone Rising – Limited Edition Luxury Fine Art Print of 50 – Derek Nielsen Photography)
While there are a lot of options to consider, you don’t have to be a museum lighting expert to properly showcase your art without fear of long-term damage.
Just follow the five steps below for your next work of art and you can’t go wrong.
- Pick a light source (NOT fluorescent or sunshine)
- Adjust the lighting angle (30 degrees is ideal)
- Select a fixture
- Choose a color temperature (2,000-3,000 K is a safe pick)
- Frame the piece, if desired
Finally, don’t forget the most important aspect of home gallery design: Sit back and enjoy.

Hello! I'm Derek.
DEREK NIELSEN PHOTOGRAPHY RAISES AWARENESS ABOUT THE GLOBAL NEED FOR CONSERVATION THROUGH PHOTOGRAPHY AND DONATES UP TO 15% OF ALL SALES BACK TO ENVIRONMENTAL ORGANIZATIONS AROUND THE WORLD.