One thing most homeowners hate to do is hang photos on their beautiful, fresh walls. The thought of putting holes in the drywall or messing up a DIY project sends anxiety and shivers down the spine. As a fine art photographer who has helped hang hundreds of works of art over the years, I want to share with you the tips and secrets I have learned. No two projects are the same, but with a little planning, even the most complicated hanging projects can be pulled off like a pro.
Equipment needed to hang photos
Proper equipment is key to hanging photos. Depending on the size and weight of your pictures, a variety of tools are needed. My old shop teacher used to say, “Most mistakes happen because the wrong tool was used for the job.” Let’s dive into the most important equipment needed to avoid mistakes.
Tools for hanging pictures
- Hammer – Don’t laugh. Many of us including myself have used random objects as a hammer like a rock or back of a screwdriver to hammer in a nail. Using a sturdy, easy to hold, hammer saves from messing up the easiest part of the job.
- Drill and drill bit – For heavier projects or sold walls like brick or concrete, a drill should be used to make a pilot hole. A drill is 100 times easier than using a screwdriver to drive in screws for even simple jobs. Remember to find the right tool for the job. A masonry bit works best on brick, whereas a wood bit works best on drywall and studs.
- Level – Depending on what kind of hardware you are using, a level will make your life a lot easier. Buy a medium-sized level or install one via an app on your phone. Phone levels are reliable, but nothing replaces the real thing. For bigger projects, a laser level is my new favorite weapon. Simply suction it to the wall and line up your second hole with ease.
- Stud finder – For heavier objects that require a little more to hold on to a stud finder is key. This small device slides across the wall in your hand and tells you exactly where the center of each stud is.
- Tape measure – Precision is key when hanging photos. Measure twice, hammer, or drill once.
- Painter’s tape – Painter’s tape comes in handy for marking key spots in your measurement as a placeholder. This easy-to-use tape sticks to walls just enough to mark your spots but peels right off after use so as not to leave marks.
- Pencil – Seems basic but a pencil is one of the most important tools on this list. A subtle mark on a wall provides a great way to make sure everything is perfect before the nail holes begin.
- Step stool – As a former personal trainer working in the rehabilitation setting, silly home accidents cause more injuries than you would believe. Use a step stool to hang a photo instead of reaching overhead with a heavy object. Work smarter, not harder.
Common hanging hardware

As mentioned above, having the correct tool for the job will save a lot of headaches down the road, as will having the correct hardware. Proper hardware takes all the risk out of hanging heavy pictures. Lightweight pictures give you much more flexibility, but I always prefer to err on the side of caution. Here are the most common types of hardware for most jobs.
Fasteners
- Nail – Plane and simple. Use a hammer to drive a nail into the wall, then hang your photo from the back of your frame.
- Screw – The slightly more secure option for hanging a photo. Because of their design, screws hold better on any wall. When drilled into studs or brick walls, screws are an easy way to hang heavy projects without additional hardware.
- Screw with anchor – Ranging from a small plastic anchor to a drywall anchor, these add additional support to the hole. Drywall anchors open inside the wall and support it from the inside out.
- Wall hangers – This is the most common type of wall hanger you can find at a home decor store or hardware store. A single nail goes through an angled hole in the hanger and into the wall. The hanger then sits flat against the wall with a lip facing out to place the hanging wire in.
- Adhesive strips – Avoid these when you can. Adhesive strips should only be used for very light temporary jobs. When the compound dries up, your picture will fall. These can also be a mess to remove from the wall, leaving a big mark.
- Monkey hooks – Simply puncture the wall with the sharp end of the hook, twist so the hook is facing out, and push into the wall. The angle of the portion inside the wall provides support for the project, usually up to 50 lbs.
- French cleat – This is the easiest way to hang large, heavy installations. This type of hanger comes in different sizes. One part is fastened to the back of the frame, and another is fastened to the wall. The beauty of using a French cleat is the photograph will lay flush against the wall securely.
- Picture rail – Used in art galleries or in homes for movable, easy-to-change configurations. Picture rails are mounted to a wall with a series of vertical wires hanging down. On the wire, gripping hooks slide up and down to fasten the artwork.
Hooks and rings
- D rings – One of the most common types of hardware in art. Two D-shaped rings sit across from one another for mounting on the wall. It is always a good idea to use a level when using D rings.
- Sawtooth hanger – a saw-like hanger mounted to the back of a photo to allow more flexibility for placement on a wall. The hanger is typically on the top of the frame, right in the middle. Simply place the nail or screw in between whatever set of teeth to make it sit even on the wall.
- Wire hanger – A wound piece of wire extending from one side of the frame to another. It is by far the easiest kind of hanging hardware on the market. Simply place the middle of the wire on an anchor and adjust for the desired level.
- Picture rail hooks – This easy-to-use clip attaches to a picture rail and then to the photo, creating a clean, straight look for photo groups.
How to hang a photo
Now that you have invested in a beautiful piece of art let’s get it up on your wall. Follow these simple steps to cut your hanging time and frustration in half. Don’t let unnecessary holes ruin your day. It happens. A good rule of thumb is to miss low, so if you have to make another hole, the picture will cover it. These tips will help you get it right the first time.
Step 1: Plan your wall
The first thing you need to consider when hanging pictures is a plan. Groups of pictures require precision to avoid looking cluttered, but even a single picture requires some thought. It all comes down to your personal preference, but here are a few general guidelines for the placement of art.
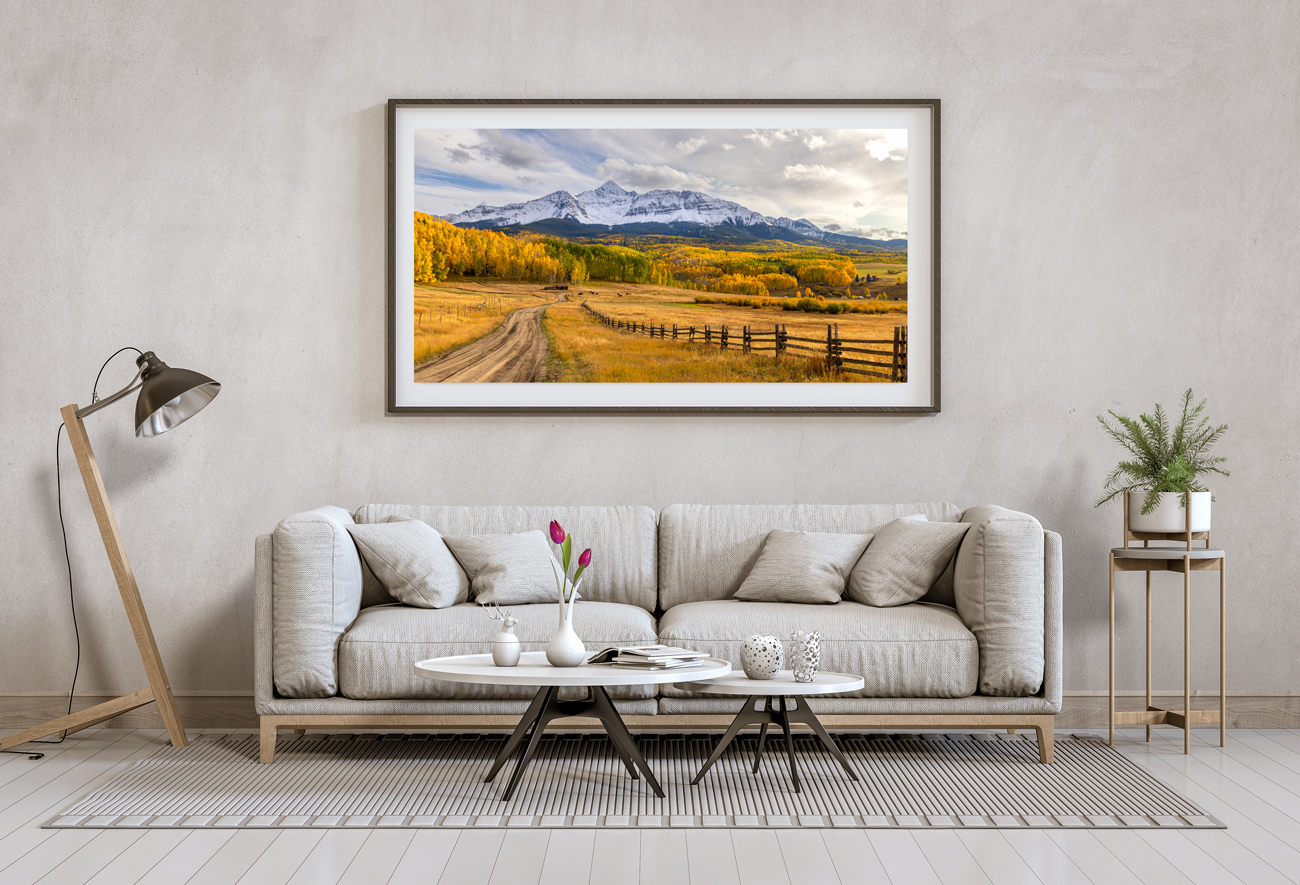
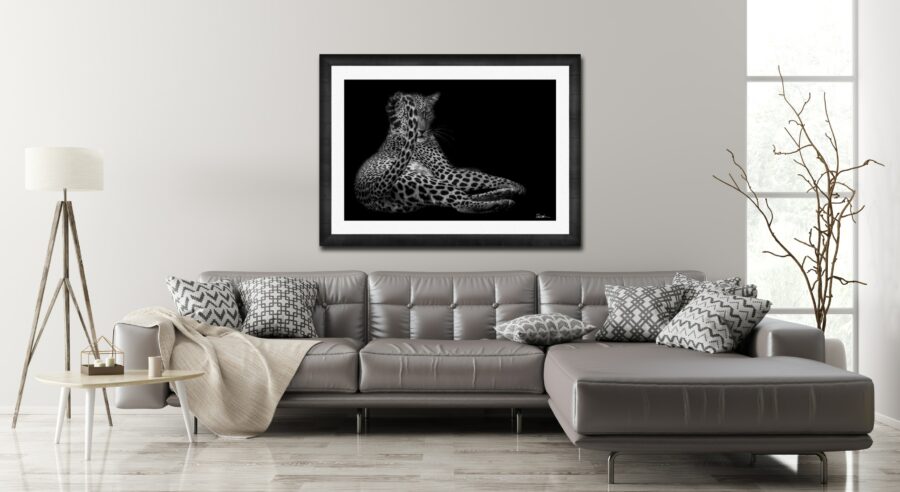
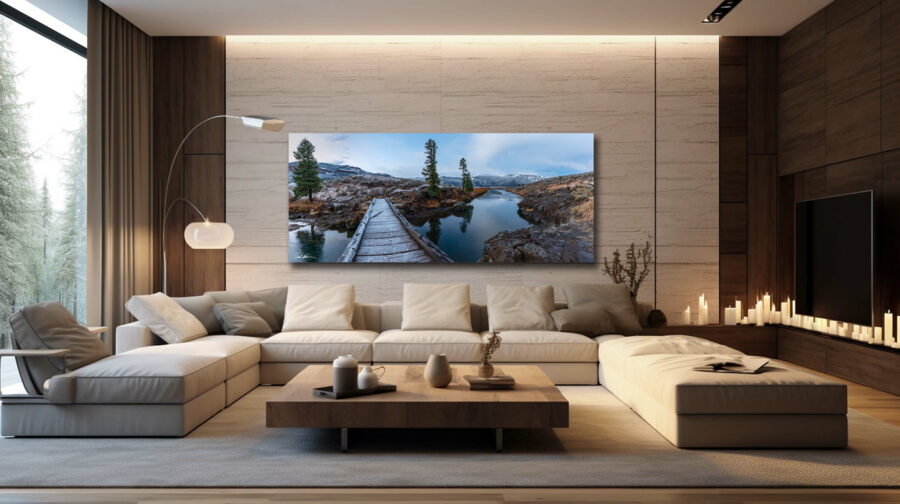
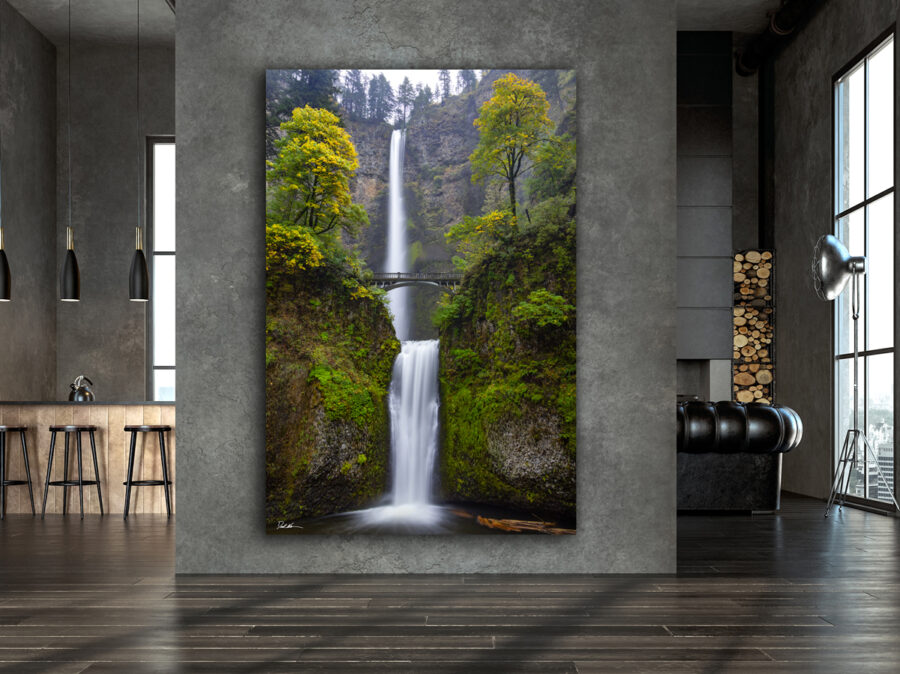
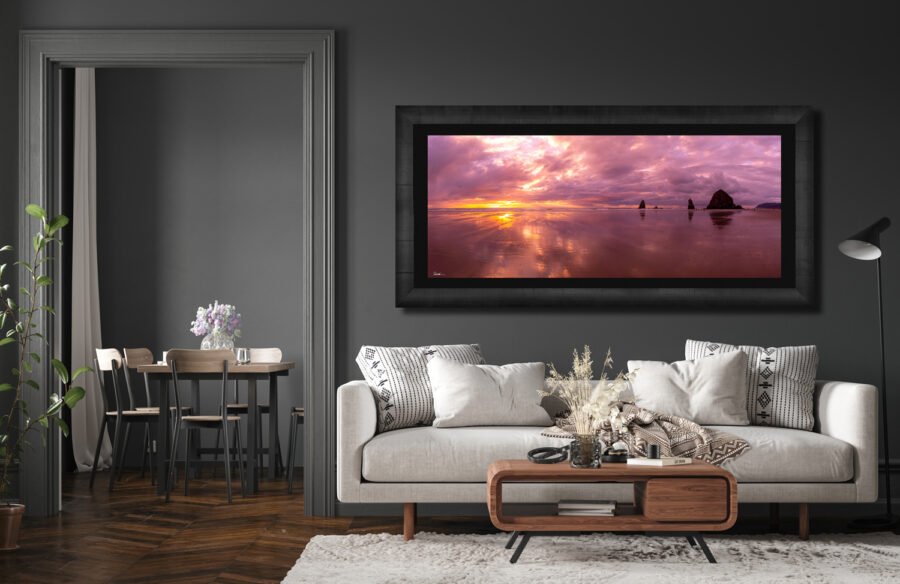
Above a couch – In general, your wall art should hang 5 to 8 inches above a piece of furniture. We want the art to stand out and not be hidden by the furniture or someone sitting on it.
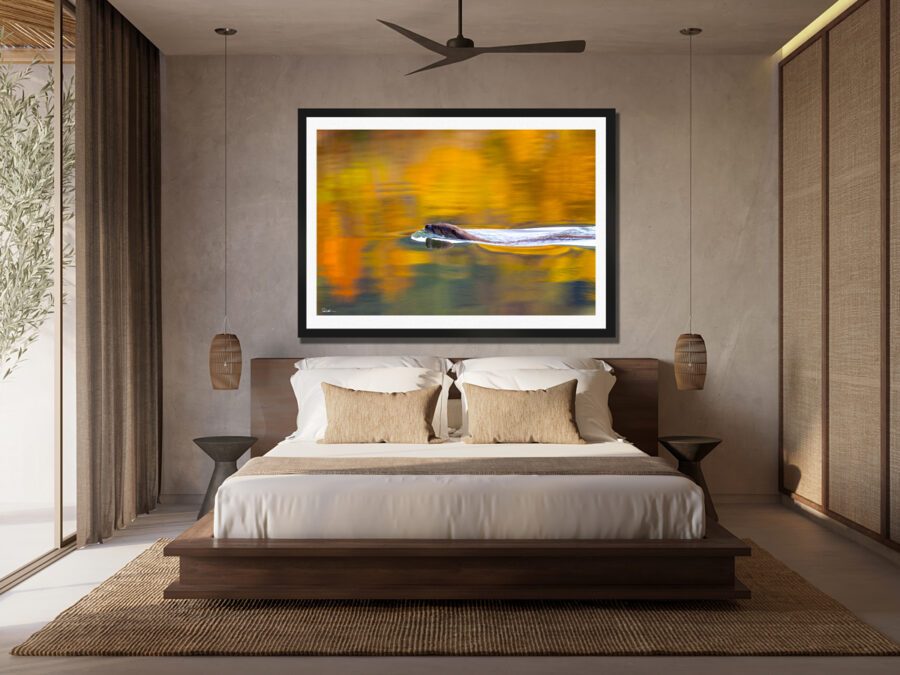
Over a bed – Similar to a couch, the art should sit from the bottom edge about 5 to 8 inches above the top of the headboard.
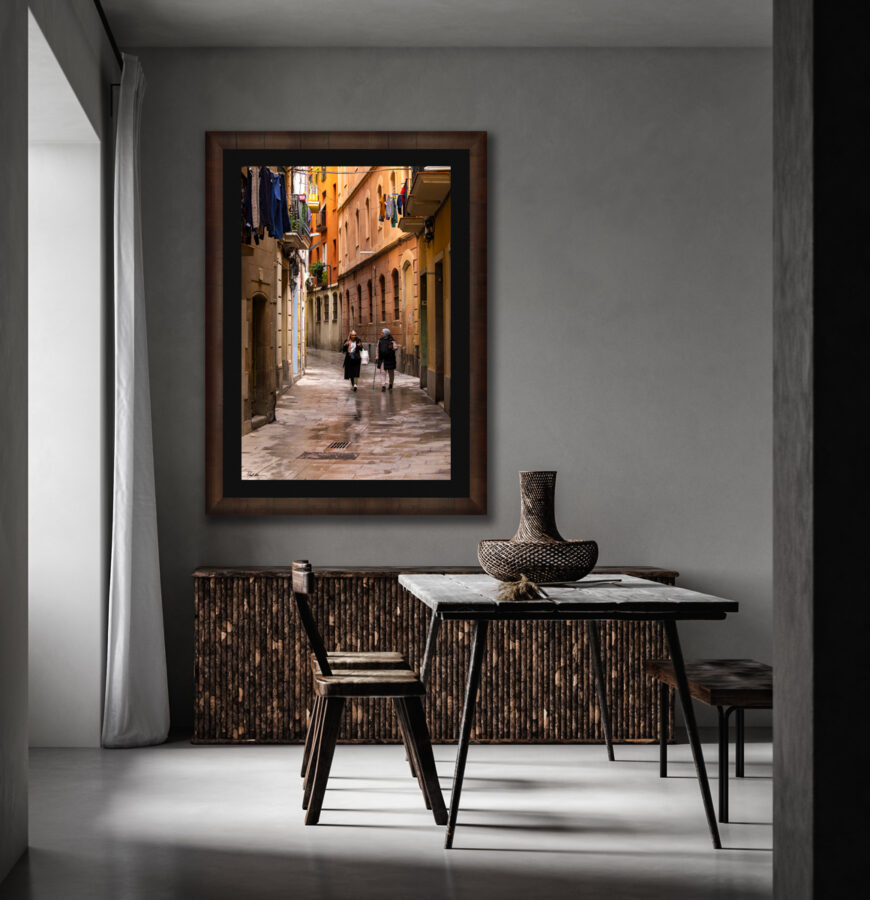
Above a desk or dresser – Art in your home office or bedroom should be hung at least 4 to 6 inches above any furniture to the bottom of the frame.
Over a fireplace mantel – Photography above a mantel should be at least 2/3rds the width of the mantel. It is okay if it is a little less or a little more, but you want to avoid your art looking like an extension of the mantel design.
Step 2: Measure, mark, and measure again
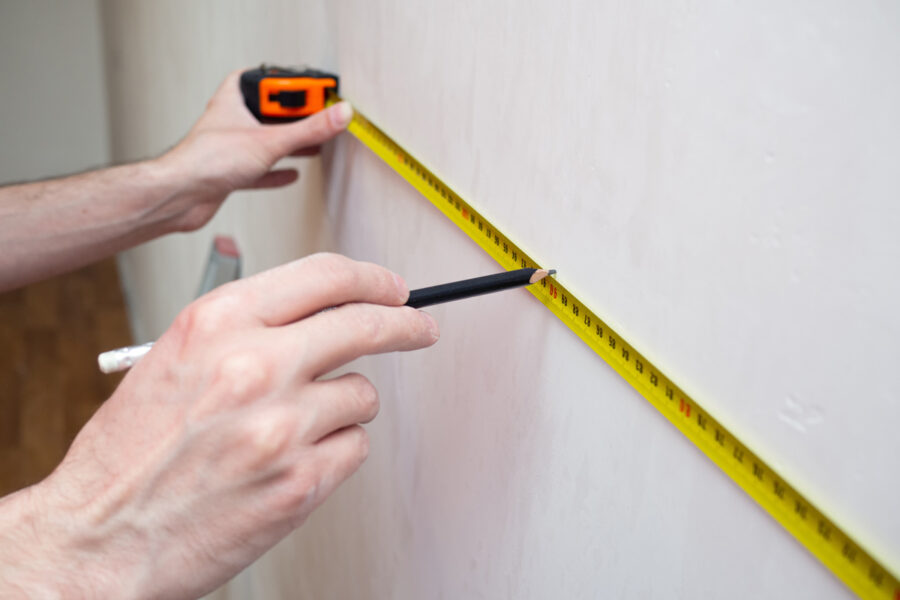
I know this step is where most people get frustrated or nervous. However, if you approach it one small step at a time, you will quickly become an expert at picture hanging. There are a few key things to keep in mind when beginning the measuring process.
How to hang photos at the correct height
A general rule is the center of the photo should be 57 inches from the floor. This is the average eye level of an adult. Yes, there are certainly exceptions, but this helps avoid the common mistake of hanging everything too high.
Finding where the top should be – The center of the art should be 57 inches. Your art is 40×60 inches. 40″ is the height. Half of the height is 20″.
57″ + 20″ = 77″ The top of your photo should be at 77″ from the floor.
Now, your hanging mechanism is never at the top of the frame. So measure the distance between the top of your frame and the mechanism, subtract it from 77″ in this case, and place your screws in the wall there. I’ll give you two examples because it is important not to get confused.
Top of the frame 77″, Hanging mechanism 3″ below the top of the frame. [ 77″ – 3″ = 74″ ] Hole at 74″ above the floor.
You have pulled your wire tight with a tape measure to mimic how it will hang. 12″ from the top of the frame, it reads. [77″ – 12″ = 65″ ] Hole at 65″ above the floor.
How to hang photos in the center of the wall
No, you don’t have to hang your photo in the center of the wall, but it is a good idea to know where it is for spacing. For larger pieces or if you are only going to hang one big piece, just measure the entire wall and divide by two. For more complicated spacing, use this method.
(Width of the wall – Width of all wall art pieces combined) / (total # of art pieces + 1) = distance needed between frames in inches.
Example: The width of the wall where I want to hang my art is 150″. I have 4 photos I want to hang, and each frame is 25″ wide. So my formula should look like this: (150 – (4 x 25)) / (4 + 1) = 10″ apart.
Preparing with markings
Ok, now that you have all the tools for figuring out where to hang your photos, let’s dive into marking the wall for picture placement. There are two easy life hacks that make the job easier. One, use a light pencil mark to identify the exact placement of the nail or screw. The second is to use a small piece of painter’s tape to mark that spot. Take the formulas explained above, a measuring tape, and map out the exact spots each picture hanger will go. Once all of your marks are in place, use your tape measure to double-check that all the correct spots have been marked. This is a good time to back away from the wall and look at your marks from the other side of the room. Sometimes, changing perspective will identify mistakes.
Step 3: Hang the hardware
All the marks are in their place, and you’re finally ready to put holes in your blank walls. Yikes! I’m just kidding. At this point, after all your prep work, you are more than ready. It doesn’t matter if you are going to hang something light; it is usually a good idea to use a stud finder to identify where your wall studs are. Again, using a light pencil mark or painter’s tape, place a mark in the center of the stud so you know what you are hammering into. Place your nail in the center of your mark at an angle slightly upward and drive the nail head into the wall, leaving a half inch sticking out of the wall on which to hang your photo.
Two-hole circumstances – Often, particularly on larger pieces, two holes are required. In this instance, use a laser level, standard level, or one from an app on your phone to make sure the two holes are level with each other. DO NOT USE A TAPE MEASURE TO MEASURE FROM THE FLOOR OR CEILING. I put this in all caps because floor and ceiling heights change even on relatively straight walls. The bubble, on a level, is what you should trust. Measure the exact distance from the two hangers on the back of the frame and mark the wall. Check to see if they are level. Then drive your nail.
Painter’s tape hanging method
This is another life hack and a great option for hanging photos quickly and easily. Place a strip of painter’s tape across the back of your frame. Many commercial frames will have two clips that hold the back of the photo to the frame but also double as a place to hang the photo. Use a sharp pencil to poke a hole in the tape exactly where these two holes are on the clips. Then, remove the tape and place it on the wall. Make sure the tape is level on the wall. Mark those holes with a pencil and remove the tape. These two spots will be the exact location for your hardware without the need to do any extensive measuring. This works best on small to medium-sized frames, but for more extensive jobs, it is best to stay to the methods described in step 2.
Step 4: Hang photos on the hardware
Everything is in its place and ready for the photo to be hung. Start by supporting the bottom of the photo with one hand and the other on the side to guide it. Once you have placed the hangers on the hardware, begin to gently let the hardware take the weight of the piece of art. This will make sure your hardware and wall can support the weight of the art. You don’t want it crashing to the floor. Many hardware systems give an estimated support rating. Use this as a guide, but always err on the side of caution. If I have a partner helping, I will often ask them to support the bottom of the photo, and I will give the top a slight tug to ensure that it will stay in place.
Step 5: Make sure your photo is level
Now that your photo is secure on the wall, take your level and place it on top of the frame. Watching the bubble, slide the level from one edge of the frame to the other. It should stay between the lines. On an electronic level, we aim for 0.0 across the frame. If you are using a wire hanging hardware system, check back from time to time. Pictures move on walls from people accidentally bumping them or even just vibrations in the space.
How to hang heavy photos
Heavy photos offer a new challenge. The wall has to be strong enough to support the work, and so does the hardware. The best way to hang heavy picture frames is to drill into a stud or use a wall anchor. A wall stud can support significantly more weight than regular drywall. This works great if you have a single piece with one hanging site, like a French cleat. Because wall studs are spread out at equal intervals inside a wall, you may not be able to use one on both sides of your artwork if it is a longer piece. Now what? The solution is using a wall anchor. These add extra durability to the drywall, and some can support hundreds of pounds.
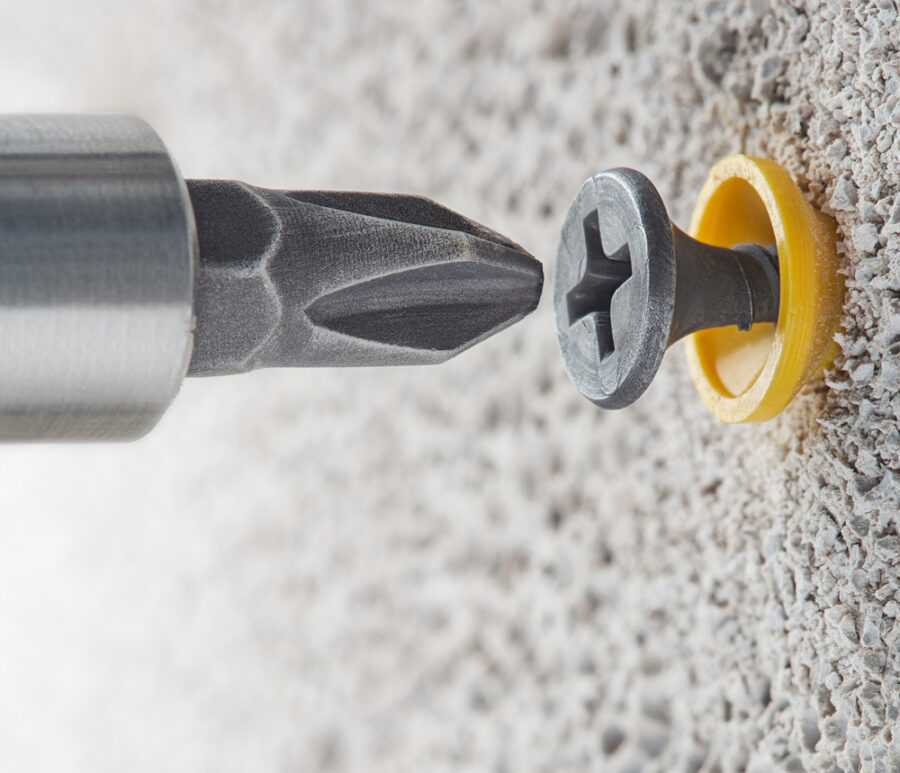
How to use a wall anchor
After identifying the side where your anchor should go and whether there is a stud or not, drill a pilot hole. A pilot hole is a slightly smaller hole than the diameter of your anchor, allowing the anchor to enter the wall easily. Do not make the pilot hole larger than your anchor. The anchor will fall out of the wall and be ineffective. Drive the anchor into the wall with a hammer, or some require a drill. Then, drive your screw into the anchor to hang your art from. Anchors also typically have weight ratings, so it is a good idea to have a sense of exactly how much your art weighs before choosing which one to go with.
Tips to hang a photo gallery wall
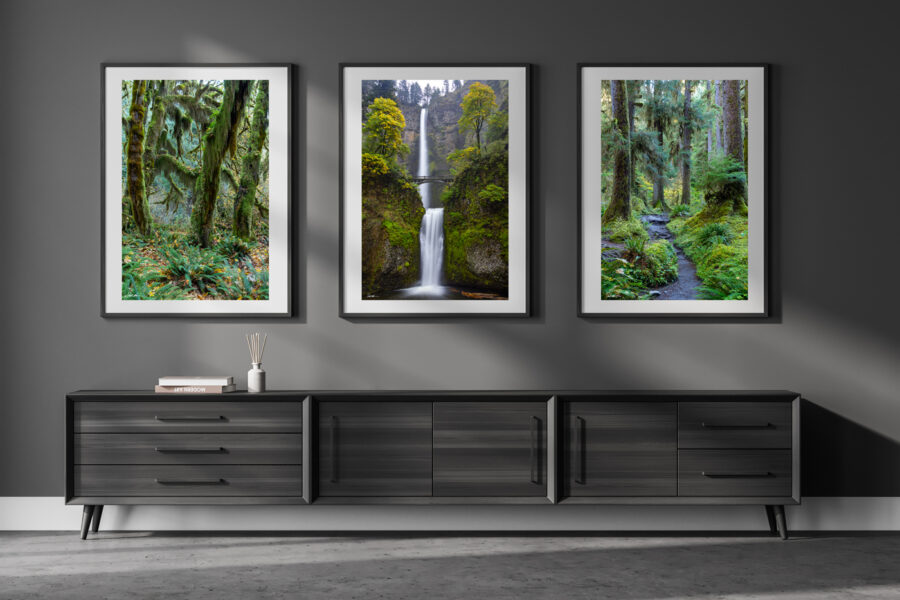
I have a love-hate relationship with gallery walls. They require a lot more planning, but I usually love how they come out. The first step for me is to lay the photos out on the floor in the same room where they will be installed. Map out a box on the floor that is equal to the size of the space you will use on the wall. Inside that box, find the design you are looking for and see what makes the most sense. Some people map out the design on the wall with painter’s tape first; others use grid paper found on the back of wrapping paper.
Then, find the center of the grouping and hang that piece first to where you have identified the center of the wall. Working from the inside out reduces unbalanced looks. Stay consistent with the spacing between frames. Unless your wall is limited on space, try to keep each piece 2-3 inches apart so it doesn’t feel cluttered.
Frequently asked questions on how to hang photos
What is the correct height to hang a photo?
The center of your art should be 57 inches or roughly 144 centimeters from the floor on a blank wall. For hanging above a piece of furniture, the art should be 4 to 8 inches above the furniture.
What if my art doesn’t have hanging hardware?
My go-to hardware for most of my fine art is the French cleat. This easily attaches to the back of any artwork, framed or unframed. One part goes on the wall, and the other on the art. Then, the art part sits nicely in a groove on the wall portion.
How do you hang photos on brick walls or concrete?
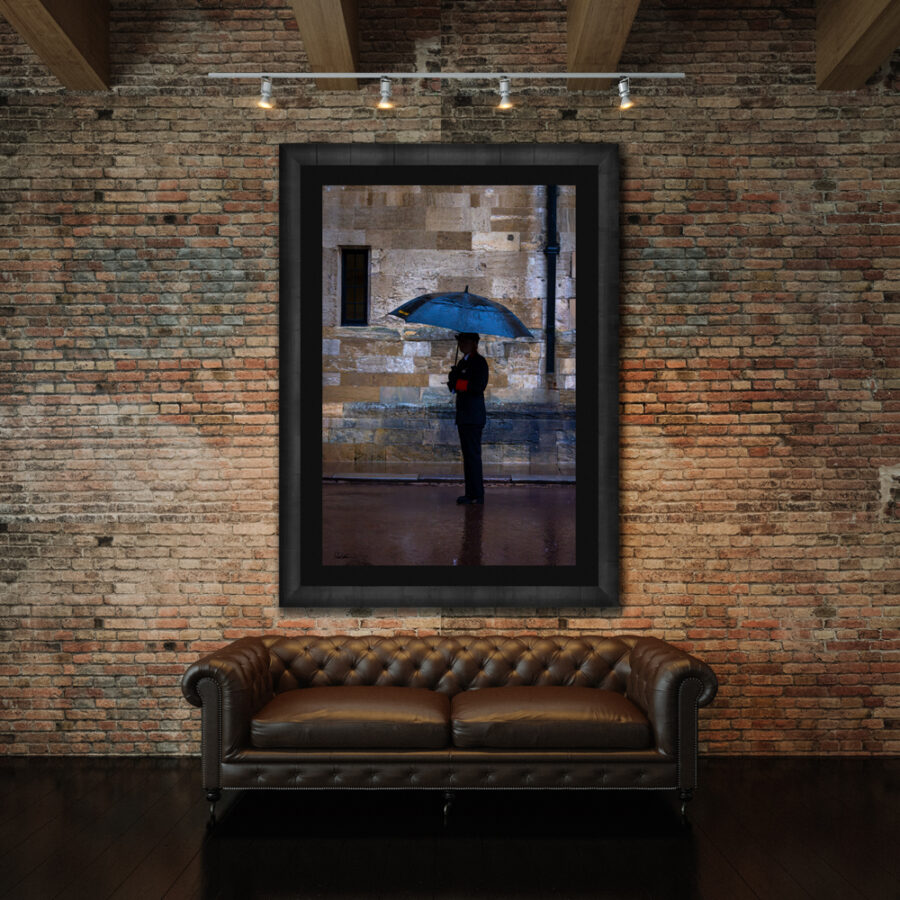
I love hanging on brick or concrete. These wall types are as sturdy as they come. Drill a pilot hole into the brick or mortor. Set a depth mark on your drill bit the same depth as your ancor to know exactly how deep do drill. Too shallow and your anchor wont stay, too deep and it wont function properly. The same applies to concrete. Insert the anchor then hang your art.
How do I fix a hole in the wall if I mess up?
Mistakes definitely happen. I have made more than I care to admit. As I said earlier, messing up going low vs. high, your art will cover the mistake. However, we are not always that lucky. To fix a hole in the drywall, use a quick repair kit. Place a small amount of mix on the end of a putty knife, pressing it into the hole. Use the edge to scrape off any excess putty. Let it dry, then use sandpaper to make the wall smooth. Then, use simple touch-up paint the same color as your wall. Just like that, the mistake is gone.
Don’t be afraid! Hang photos with confidence.
You now have all the “tools” to attack that DIY hanging project you have been fearing. Remember, go slow. Measure twice, drill, or hammer once. Hanging photos in your place truly turns a house into a home. These photos or pieces of art are an extension of you and your family. They are unique to you. Mistakes will be made, curses will be said but remember the steps I provided and the job will be less painful. Be sure to check out my other articles about advice surrounding photography, and if you are looking for that statement piece for your home, I would be happy to help guide you in the right direction. Have fun! You can do this.
Hello! I'm Derek.
DEREK NIELSEN PHOTOGRAPHY RAISES AWARENESS ABOUT THE GLOBAL NEED FOR CONSERVATION THROUGH PHOTOGRAPHY AND DONATES UP TO 15% OF ALL SALES BACK TO ENVIRONMENTAL ORGANIZATIONS AROUND THE WORLD.